What you build in this guide
In this guide, you ask Flow to create a simple automation that sendsHello from Flow to the
requester.
Flow uses the requester’s available notification channels and preferences. The automation does not
need a separate integration action for each channel.
Before you begin
Confirm that you have the access this guide needs:- You have the Creator or Manager role in a team, or you are an organization administrator. You need this role to create an automation and to start it directly.
- The team has Automations turned on under Details. The team that owns the automation needs this feature.
Build, test, and publish
1
Open Automations.
2
Start a new automation.
Choose New automation.
3
Prompt Flow.
Ask Flow:
Create a simple automation that sends “Hello from Flow” to the requester.
4
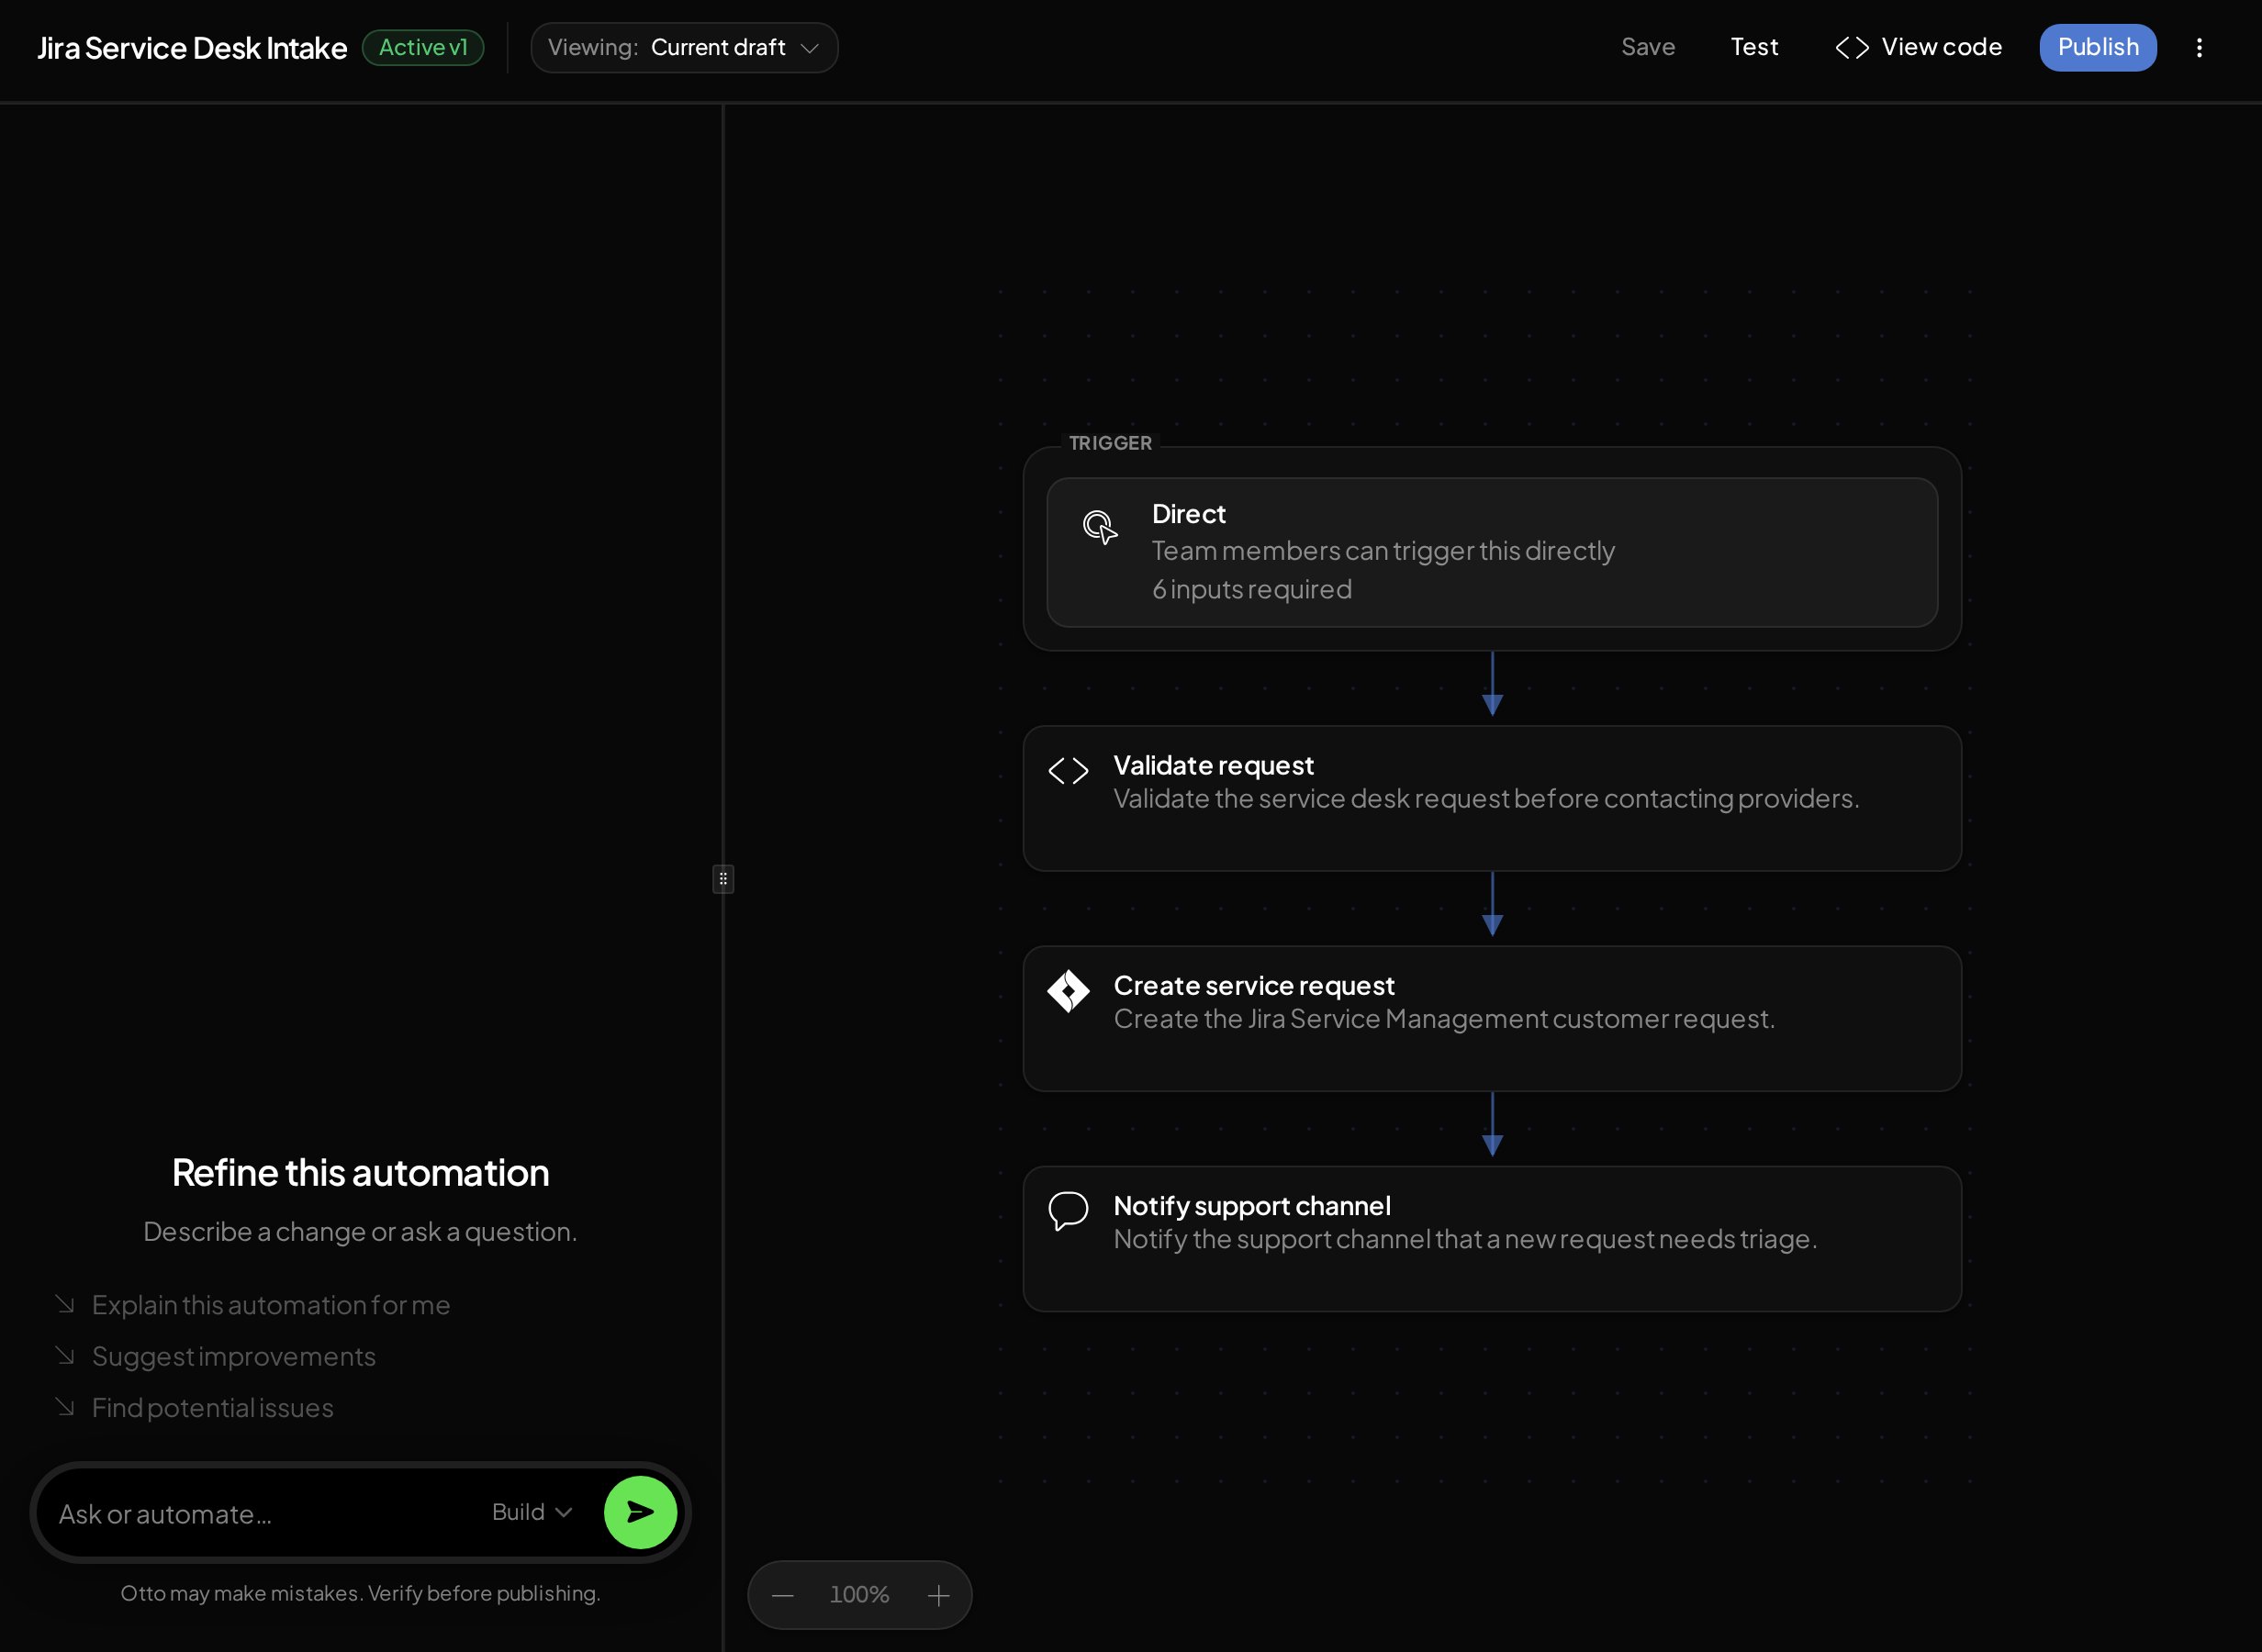
Review the draft automation.
Confirm that it includes the requester update with the expected message. Open Code only
when you want to inspect the generated code.If the saved code has issues, select Ask Flow to fix. in the code view.
Flow repairs the current saved automation. This action is unavailable for
unsaved edits, older versions, and read-only code.
5
Save the draft.
Do this before you run Validation scenarios, test, or publish.
6
Open the Test panel.
Select Test, then choose Simulated. The button is labeled Test until you publish.
7
Simulate the draft.
Confirm the successful path and the requester update step without changing a connected system.
8
Publish the automation.
Fix any blocking diagnostics and confirm Validation scenario review when scenarios are configured,
then select Publish.
9
Choose the audience and confirm.
Choose the smallest audience that fits this automation, review the publication summary, and
select Publish automation.
10
Open the Test panel in Published mode.
Select the options arrow beside Run, choose Test, choose Published, and select a team if prompted.
11
Run the automation.
Enter any required inputs and select Run. Manual runs use the published automation and its
current execution setup.
12
Check the run log.
Open the run and confirm it finished successfully with the expected requester update.
13
Confirm live delivery.
For a live run, confirm that
Hello from Flow reached the requester through an enabled
notification channel.What you see with Flow
Flow keeps the conversation, automation draft, and validation feedback in one workspace.